...
- If you have downloaded a Beta version, the file name will end with a .tgz extension. As part of the file name you will see the software version, too.
- Double click on the .tgz file and the Mac OS will extract a new file called DMMD-VisereCaptura.dmg. This file will not have a version in the name.
- Double click on the .tgz file and the Mac OS will extract a new file called DMMD-VisereCaptura.dmg. This file will not have a version in the name.
- If you downloaded the release version from the release depot, then the version number will be in the .dmg file name.
- Once you have the .dmg file, double click on it.
- The first time you double-click on the icon, you will receive an error message that the developer is not verified
Note title Signing of Visere Captura Signing Visere Captura with Apple is a time very time-consuming process, due to the many third-party libraries we are using inside the software. We are planning to sign the software in the near-future, but until . Until that time, it is safe to use the software as an unsigned Apple software.
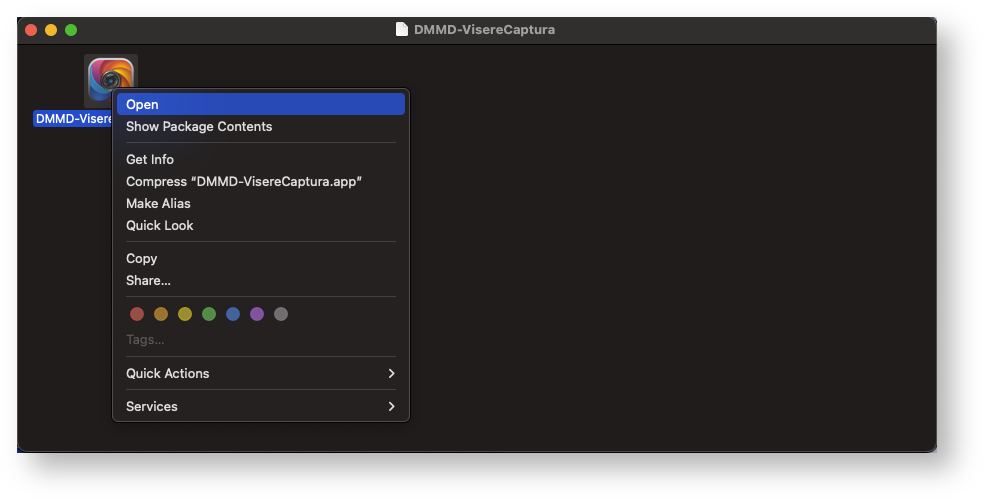
- Click on the "Cancel" button and go back to the Step 3. Instead of double clicking on the icon, now right click and select "Open"
- You'll now get a second warning that the macOS cannot verify the developer
- Click on the "Open" button. You will now get the Visere Captura Setup walk-through
- Click "Next" through all the dialogs. You may get a dialog saying that it's installing the old Visere Captura. Allow it to uninstall it, you will not loose your data.
- Once you click on all the "Next" buttons, the last step is to click "Install"
- macOS will be asking you for your user name and password. Enter it and click OK
- After the installation is complete, click "Finish"
- The application is now available in your "Applications" folder
...
| Page properties | ||
|---|---|---|
| ||
|


